


Bottom Bracket Selection Guide

Throughout the day I gaze over at my bike, sitting there, in the stand, looking lonely, and I realize how much I love it. It’s a place of pain bordering on torture at times, when legs and lungs burn like fire, yet I love it. I think I love it more the more pain it causes me. Read on and learn how to stop annoying creaks and squeaks from ruining your bike ride.
Rule #1 of Bike Club is that we don’t talk about Bike Club…
And then I look at it again. Damn, it’s pretty.
But this crazy, irrational love ends the moment I step on the pedals and hear a creak. Honestly, when my bike starts creaking---yes, it’s rare, and yes, it does happen---I consider stopping on the side of the road and calling my wife to come to get me like I do when the battery dies in my power meter. When my bike creaks it’s like my beloved dog just pooped on my Persian rug the moment I brought her in from a long walk.
So, if bike squeaking drives you insane you’ve come to the right place because today we’re going to address the identification and elimination of the TOP 5 BIKE CREAKS.
#1 It’s the skewers/thru-axle most of the time.
This one bites seasoned mechanics in the shorts all the time, so don’t overlook it. I advocate checking the fastness of skewers and thru axles prior to each ride.
Diagnosis: Grab each wheel and twist it back and forth axially as if you’re trying to wrench it out of the drops. Make that sucker flex.
We’re not big fans of fancy titanium, uber lightweight eBay skewers. We’ve had them in the shop plenty of times where you can tighten them to the point that you can barely close the dang thing and still it lets the wheel move in the drops just enough to let out a creaking sound. Cheap skewers are like Harbor Freight vice grips. Nuff said.
The best skewers are robust like Shimano or Mavic units that offer high clamping force and easy actuation. But no matter how nice your skewers are they can loosen up over time or with a change of season just enough to let the wheel shift ever so slightly in the drops to produce a creak. So, get good ones, check them before each ride, and if your bicycle starts creaking, check them first.
Thru-axles are a must in our opinion for a multitude of reasons, from precise rotor placement to enhancing stiffness, be they on a road or mountain bike. Although we’ve found that they creak less often than do old school skewers, it does happen. Like skewers, people typically grease them up to “fix” the problem. Please don’t do this because you are merely lubricating the movement that was causing the bike creaking, and this will exacerbate the issue in the short term and could lead to wallowing-out the drops in the long term. Bottom line: The lube will be gone shortly and the creak will continue.
You fix a creaking bicycle thru-axle by cleaning it. De-grease the dropouts and the hub stub-axles that interface with the dropouts. Use a paint-safe cleaner like White Lightning Clean Streak. Clean all the grease off the thru-axle except for a pissy-thin coat on the threads. If the wheel moves around in the drops with the thru-axle clean and tight then you need to swap out the thru axle, and if that doesn’t fix it, you need to have the dropout dimensions checked because there’s a material defect that should be addressed with something other than a blob of grease.
40Nm is a lot. One thing I like to do for people is let them experience what 40Nm feels like, so I whip out the old SnapOn torque wrench, dial it up to 40, and let them muscle it. Invariably they’re shocked at just how much torque that little lock-ring requires and freely admit they’ve not been tightening their lock-rings anywhere near that much.
Diagnosis: You can bet that if the lock-ring is not torqued to 40Nn the cassette is creaking.
A loose lock-ring lets the cassette parts move independently as they load and load against the freehub splines. We’ve found that cassettes from Shimano that are made of several cogs riveted to carbon bodies tend to loosen up over time even if they were initially torqued the full 40Nm, so be advised.
Prior to installation, brush a thin film of grease on the lock-ring threads and the back of the lock-ring face that contacts the cassette. Run the ring down by hand as much as you can before using a tool. Torque to 40Nm.
We’ll address these two problem children together seeing that they’re directly related, starting with the saddle clamp.
Diagnosing the saddle clamp: Stand next to the bike, grab the nose of the saddle in one hand and the tail in the other, summon your gorilla strength, and attempt to rip the saddle off the seat post. Make it flex. If it creaks at all, fix it.
First, on flat, level ground, take a picture of your bike to make note of your saddle angle. I use my benchtop as a reference for the level. Mark the seat post height at the top of the clamp with a scratch awl or a wrap of tape, then remove the post and saddle assembly. Mark the saddle position on the rails in relation to the clamp. I use a scratch awl to mark the rails because you'll wipe any Sharpie marks off in the next step. Make scratch marks on the bottom or toward the insides of the rails so they're not readily visible. Disassemble the clamp entirely. Clean and de-grease all parts including the saddle rails. Using an acid brush and some light grease such as Motorex, apply a thin film of lube to the saddle-clamp-to-saddle-rail interfaces, the bolt heads and threads, and any wedges if it’s that kind of clamp you’re dealing with. Reassemble everything, matching your marks and your saddle angle, and torque everything to spec. Reinstall the assembly in the creaky bike and repeat the diagnosis portion to make sure you fixed it.
Diagnosing the seat post: This one’s a bit tricky. I stand next to the bike, lean it over about 30 degrees, wrap one hand around the seat tube, the other around the seat post, and then attempt to break the seat post off at the clamp as I bear down with the hand on the seat tube.
This action forces the unseen part of the seat post that’s down in the frame to move toward the inner wall of the seat tube. If it’s going to creak you’ll feel it through the hand on the seat tube. The fix is easy: shorten the seat post if possible. Make sure to leave the minimum insertion required plus a little. I always slash-cut the post à la the way Ritchey posts come from the factory. Always use carbon paste on creaky carbon bikes. I like the Finish Line brand because it’s clear and works great. You can use grease on aluminum bikes with aluminum posts if you want. I don’t. I put them in dry.
And look before you see. I have actually seen someone cut into a Di2 battery while shortening their seat post. Yes, we laughed at them. Don't be that guy.
If you have a dropper post you’ve no choice but to smooth out the inside of the frame to get rid of whatever carbon stalactites are causing the problem. I use a long, ¾” dowel rod with some 100-grit sandpaper wrapped and glued to one end to smooth things out.
Diagnosis: Do the twist on the handlebar like you’re wrestling a steer. Next, grab a handful of front brakes with one hand and pinch the headset cap with the other, bridging the gap between the cap and the frame with your thumb and forefinger. Now rest your forearm on the top tube or saddle and bear down with your body weight as you rock the bike back and forth, fighting the front brake. If you feel even the slightest movement between the headset cap and the frame, there's something wrong that must be addressed whether it’s creaking or not.
Remove the fork. Remove and clean the headset bearings. Grease the contacts (the angled portions), and reassemble. Do not blob the grease everywhere. Use an acid brush to apply light coats on the contact areas only. If a bearing is found to be bad, change it.
Clean the steer tube with White Lightning and a clean rag to make sure there is no grease on it before installing the stem.
Apply the proper pre-load to the headset and torque the stem binder bolts according to the manufacturer's procedures and specifications.
Have you ever heard unusual bike creaking noises when pedaling? Whether you’ve got Shimanos, Looks, Speedplays, or any other pedal system, they all can and will creak. The main cause of pedal related bike creaking occurs when the dang things aren’t screwed into the crank arm tight enough.
Diagnosis: Do the grab and twist. Manipulate the components and mechanisms. Snap a shoe into each pedal and work it through its range of motion by hand.
Addressing a creaking bike pedal depends on what exactly is causing the problem. Putting some anti-seize on the threads and tightening them to specs will fix most problems. Beyond this, each pedal system has its own unique qualities that contribute to when and how bike creaking develops. I’ve seen many Looks creak at the hinge and Lord knows the number of creaky Crank Bros Eggbeaters I’ve dealt with over the years, often to no avail. The simple fact is that pedals are rarely suspected and generally overlooked as the major source of bike creaking they are.
Worn cleats, worn pedal bodies, cracked hinge points, and other maladies cause bicycle creaking and are conditions that can make your ride a dangerous one.
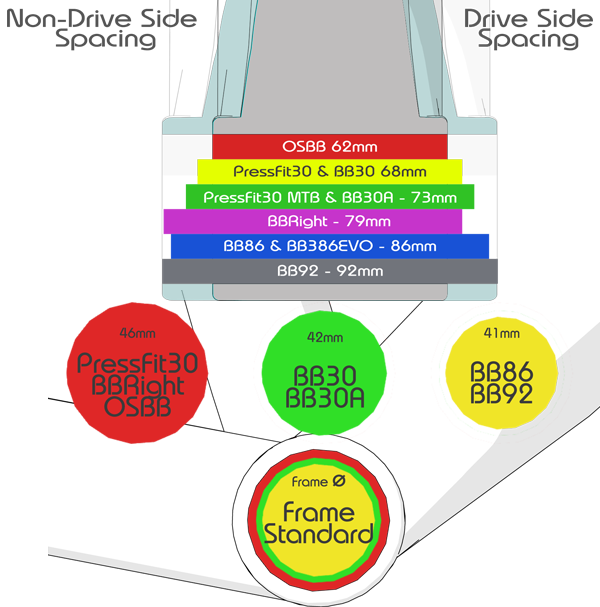
This was just a Top 5. Notice how the bottom bracket didn't make the list? That's because, although BBs are a MAJOR source of bike creaking, we'd like for you to look at some other things first before blaming the BB. There are myriad other places a bike can creak. Check out our guide on how to fix creaking bikes for a complete noise-eliminating process. But if you're convinced the BB is the reason for excessive bike squeaking, check out our blog post to learn how to fix a creaking BB30 bottom bracket, so you can ride in silence.
Comments will be approved before showing up.